Showing posts with label DIY. Show all posts

Sunday, May 10, 2015

Inside [this house] Beats the Heart of my Madness.

I have reached the point where I've become frustrated with the building. The hostel is older and often Things patched along as it goes. Sometimes further back then I know. Then those things, having spent a long time doing what their supposed to be doing (i.e., being walls or toilets), decide it would be way cooler not to be those things.

Usually I can put my Predator face on and be happy.

Screen Cap. Predator movie, 
But yesterday it was madness.

In a matter of 5 hours, the radiator collapsed off the wall, pumping black radiator fluid, which I'm not certain is the same fluid that makes Guinness. After finally stopping it, we had to disconnect it from the pipe and the room was out of commission. The wall behind in ruins, and filled with horse hair (yes horse hair, I guess they used to plaster walls with it as a binding agent), I realized I'm fully booked for tomorrow. Calling a good friend/joiner/construction dude over, the patch of wall was torn away, leaving the lath exposed. It needs to be plaster boarded, smoothed and painted all in 24 hours. The carpet is trashed, which is most annoying to me.

An hour after this happened the leaky toilet turned non functional as the parts that were not mean for each other came apart, thus rendering one of the main toilets useless.

Quickly after, more minor, but the vacuum bag inside the vacuum exploded blasting dust all over one of the cleaners and the kitchen. Luckily no Henry was harmed in the process and we re bagged it.

Then last, but not least. A guest left the taps running upstairs and flooded the upstairs bathroom, pouring down into the other bathroom through the light fixture. This last act really brought home the phrase, "when it rains it pours."


The wall was repaired this morning, needing one more coat of paint after the putty has dried. The water has been moped, the sink unplugged, the sparky/electrician called and the toilet parts on the way. Henry is alive and well.

I'm usually good at compartmentalizing my work and not getting frustrated with hostel build/structure problems. But I was nearly at the end of my rope this morning. Its such a lovely, cosy hostel and it does my head in when I find half done and half shot work crumbling around me, its upsetting, not for the fact that its broken, but someone didn't take the time or the money to do a proper job of it in a place that takes so much wear and tear, and someone like me, who's really left with an unsure budget and unreliable company builders. I do the best with what I am given.

So I'm left with a mess and an option. Crumple and give up or roar in the face of it. I choose roaring every time.


Roar


Saturday, April 18, 2015

DIY Repainting a Hostel Room

There is a lot of DIY stuff coming up, only because I have to do it myself. This time, though, it was working in the hostel.

Before and After
This week I painted a Hostel Dorm. Funny enough, it was the dorm I lived in for 6 months before getting the manager job, so I have fondness for its brilliant yellow walls, but they had to go. I didn't have the exact colour and the room needed an up date anyway.


I had some awesome help from my good friend Marie, and we had no end of fun and trouble. As you will notice(or not), the ceiling is chip wall paper. It was old and sagging and sagged worse when we applied a fresh code of paint. With a go a head, we pulled it down, chipped the remainder off and repainted on smooth plaster.

It took three solid days of trucking away at it before it was finished, or nearly, one wall still needs plaster but over all its so much fresher looking. I picked white for the walls because in a hostel people get food, gunk and scratch all over the walls, and its tricky and expensive to replace it with funky colours all the time. Funk in some places, too  much funk is no fun.

Want to see the results?


It was fun, though I have to say, the hardest part was working with Gloss paint. Its sticky as all hell. You have to wait a while for it to dry, but once it does, its easy to clean right off and really durable. But again, there was paint everywhere. I was neat about the room, but my skin, hair and nearly everything else attached to me was covered in paint.

The only shame was that I only had 3 days to get it all done. So this means I was unable to have the back wall plastered properly. Its still yellow and waiting for its skim and a paint.

Fun tip: Looking to get rid of glossy paint? Mayonnaise or olive/sunflower oil, no harsh chemicals needed.

Hope you have luck/adventure/success on your own DIY. I'm going to sit on my butt and smile now!

Special thanks to Andy from Up and Doon Guided Walks for covering me so I could get it done while not burning oot! He does some even cooler adventures than me!

Monday, April 13, 2015

Pillow vs. Pillow: How to Make Your Own Pillow

I like pillows lately. Not just a sack of fluff you ram your head into, but a good looking pillow, with texture, substance and character. They don't always have to be practical, but good looking is important, besides, their just full of fluff!

So I was in Homebase the other day which, for those not living in the UK, is a place where you can buy DIY stuff. Its for any scale of project, and right now my partner is completely renovating is home. Down with the dated, textured wallpaper and up with smooth plaster, bold paint and not carpeted flooring. All I walked out of Homebase with were a few plants and a Pillow, a £14.00 pillow. The thing is I'm not that good at some of the stuff he's been learning and often I'm away at work so the most I've learned is how to pick wallpaper. 

If you actually asked me to work some of the stuff, I'd probably cause an accident. 


But! I can sew! I can sew like a master. Stitching, hemming, altering, all those things are at my finger tips, literally, since I only hand stitch. Its a very calming hobby, with audio books or Documentaries playing in the background. I'm no professional, but I really enjoy making stuff myself. Sewing is one of those things I really recommend people learn, its doesn't have to be a hobby, but it can help you in small ways and give a sense of achievement, having fixed something yourself, or even altering things to fix you. Its low cost and in an age where people are starting to look for a way to get back to older more natural roots, making and fixing things by sewing is a good first step.

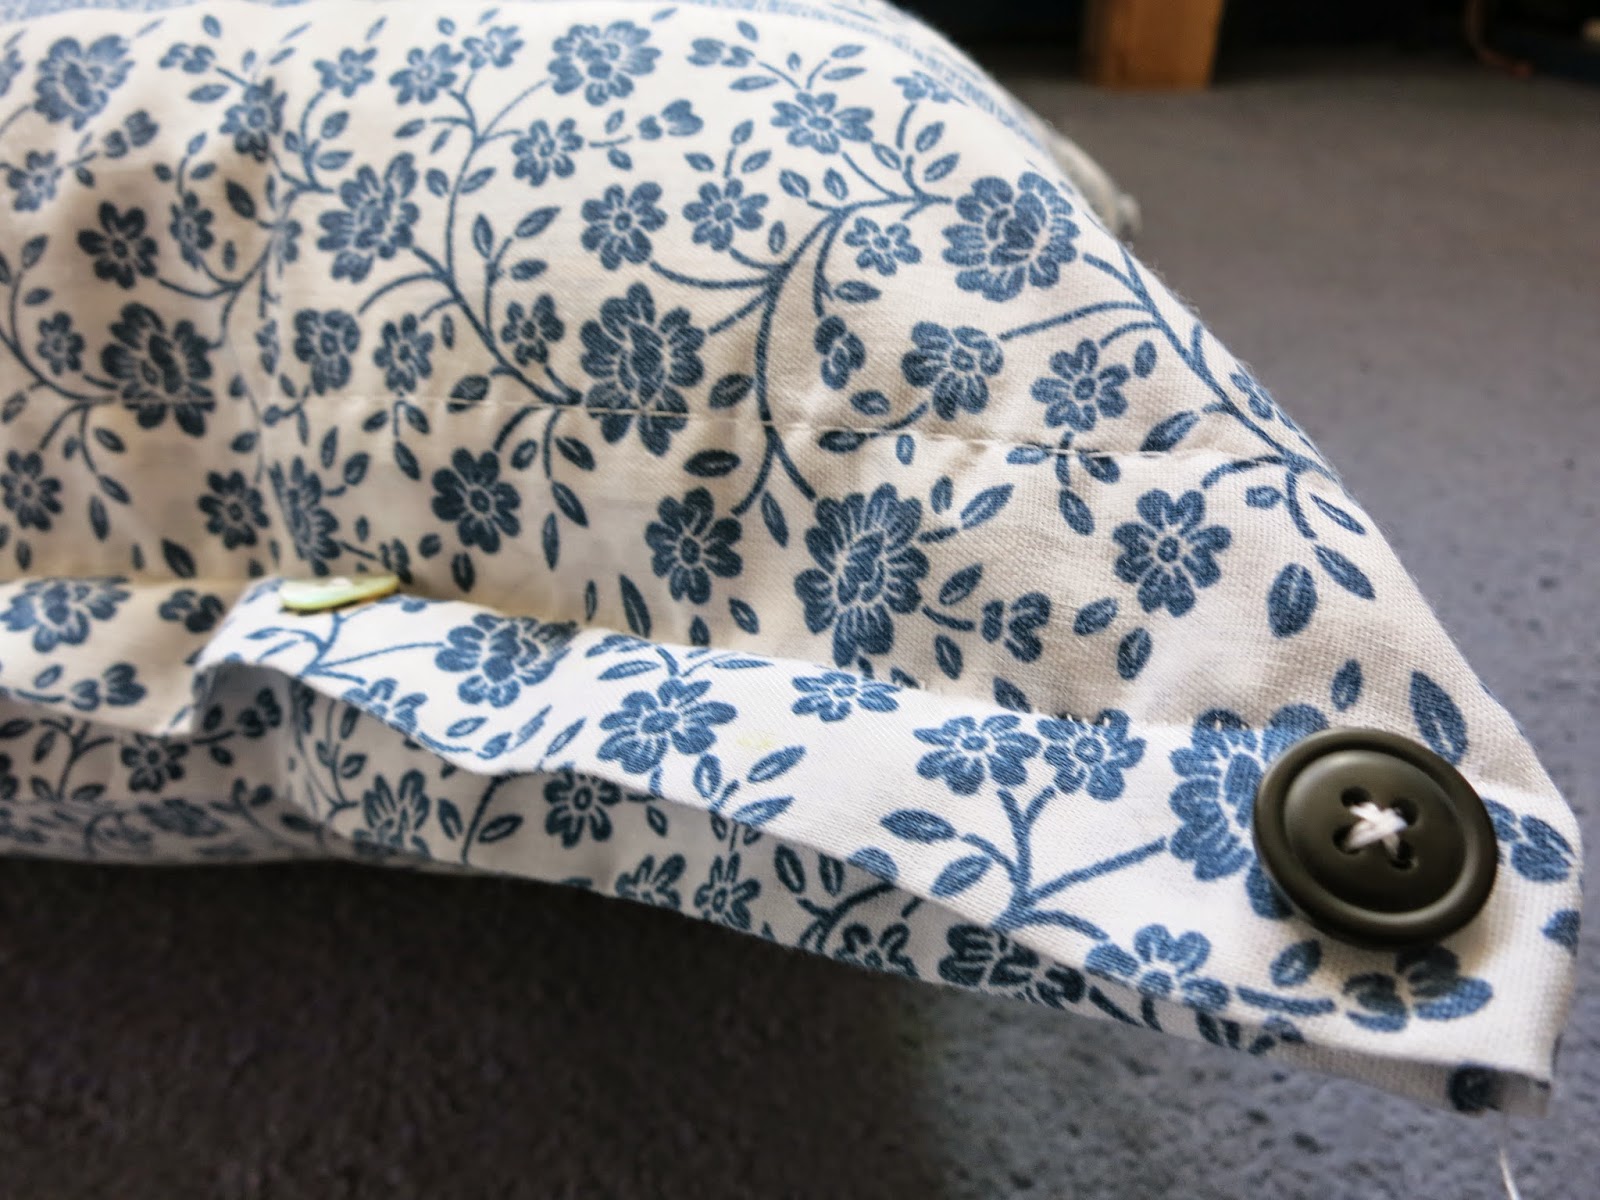
The first time I made a pillow it was for the hostel. In need new ones and there was no shortage of old, patterned duvets. I made five in total. This one I did a few days ago, kinda a spur of the moment thing, when I found the lacklustre charity shop on the high-street was a secret gold mine for nice fabric for really cheap. It was 40p! Everything else were things I had lying around. 

This was the result!


Materials Used:

Cotton/polyester blend Fabric
Thread
Needle
Scissors
Sewing Pins
Buttons (Optional)
Pillow Stuffing

I think the two most important pieces of advice I can give when it comes to sewing are these:

1.) Start your project inside out. Pin everything in place, but do it inside out. When you flip it right side out, your seams will disappear. If you want neat seams that don't look cheap then inside out is the way to go.

2.) Small stitches. Make your stitches small and close together. This makes them tight, and your pillow or what ever your making less likely to fall off. Big stitches can be for décor, but if you want something to hold, then small stitches are the way to go.

I found buttons laying around and added three black and two mother of pearl buttons on the bottom fringe. 
So I made a 40p pillow, and it'll sit next to the £14.00 and no one will know the difference. Well... except you!


If you're interested in how to make pillows or even just basic sewing, let me know! I'd love to help!